
Baling Twine plus Granny Knot equals The Tie That Binds
posted on
July 11, 2023
I have learned so many things from my dad.
Just. So. Many.
From pounding a nail to changing the oil in the car, from building a straight fence to calmly herding cows, from transforming the land to respecting the dignity of nature, the list is immense and my heart is grateful.
But one of the skills I learned from my Dad that always gives me a good laugh when I put it to use is knot tying.
Knot tying on a farm? Really? Why?
Well, if you’ve spent much time on a farm that’s more than a few years old and been really observant, you’ve probably discovered a farming secret.
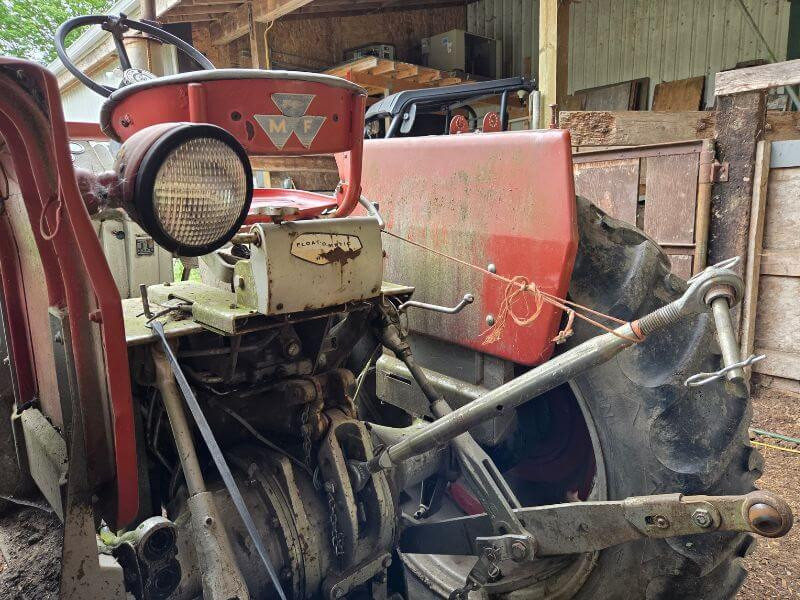
Most farms are held together with a long series of bits and pieces of baling twine.
For our more mature readers remembering farms from their youth - baling twine is the younger version of baling wire, which held together farms of yore.
It’s kind of like duct tape for farmers. Only better, because we can never remember where we left that roll of tape and it always sticks to itself better than the thing you want it to stick to anyway.

But on a livestock farm, baling twine is ubiquitous. There’s a twist dangling from every barn wall, random strands hanging from fences all over the farm, and a wad stashed under the seat of every farm vehicle (which includes the mini van that, against all of my objections, turns out to be a pretty darn useful farm implement.)
Baling twine, five gallon buckets and cinder blocks – the glue that holds the farm together…
Now, don’t get me wrong. We don’t PLAN to cobble bits and pieces together with twine, buckets and cinder blocks.
In fact, we all start out with perfectly planned, beautifully built farm infrastructure – a labor of love that will last generations and to which we will proudly point to amidst admiring applause.
Then we actually get the animals and they quickly show us where our plans weren’t so perfect after all - and we begin to “farmify”.
Excerpt from the Farmer’s Dictionary: Farm•i•fy Verb similar to the more civilized modify, except performed in haste or under duress, often in the dark or otherwise at the worst possible time, preferably with the use of copious quantities of baling twine

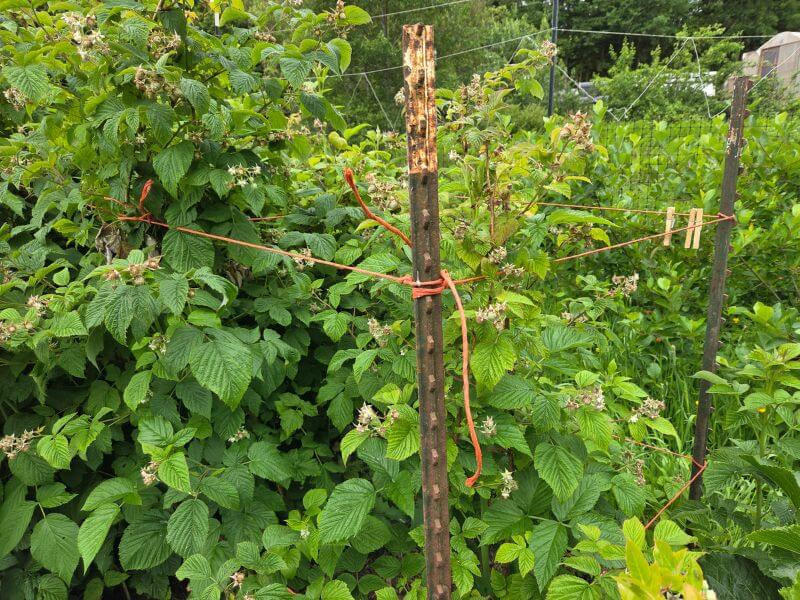
Now in addition to being prolific and coming for “free” (haha) with every bale of hay, one of the great things about baling twine is that each year our hay comes wrapped with a different color. Which means we can walk around the farm and tell when we last worked on a project by the color of twine used to hold the project together.
Orange twine attaching the wire to the fence post where the clip fell off and got lost – really, you keep meaning to bring out a new clip next time you walk by…
A piece of blue twine acting as the second hinge (or perhaps both hinges) on the gate into that back paddock that you had to move unexpectedly because the cows decided they didn’t like the old location.

A faded chunk of green twine holding the hog panel to the field fence where the little pigs kept digging out.
And then that piece of pink twine that acts as the all-important gate latch into the cattle loading pen.
That one’s so mangled from use that you can hardly untie it, let alone tie it back again. But you manage anyway because the cows are coming and the piece you brought to replace it fell out of your pocket somewhere back up the lane. “Hang on fellas, hold up a minute while I replace this twine” is not in a cow’s vocabulary.
Most of the time these bits of twine are tied in what our family calls a Compound Granny Knot.
It’s a “knot” tied on the principle of the age-old adage: If you don’t know the knot, tie a lot.
Make your basic shoelace tie over and over and over, plus once more for good measure, and you’ve got yourself a passable Granny.
And you know what? Most of the time they get the job done. Especially if your life is not necessarily depending on the knot – AND you remember your pocket knife to cut the twine off when the time comes because there’s no way you’re untying that sucker.
But sometimes your project calls for a little more finesse…
And that’s where this little insider’s peek at the tie-that-binds-the-family-farm gets back to my point about Father’s Day.
In addition to being a man of many skills, including amazing farmer, my Dad is a mountaineer, and I’ve had the great privilege of spending many days in the mountains and wilderness with him.
When you’re in the mountains climbing with a rope team, you’ve just gotta know how to tie REAL knots. Not only does your life depend on it, but also the lives of the others on your rope team.

And while my repertoire of knots is not lengthy, the ones I do know I learned well and good.
So now when a Compound Granny just won’t cut it on the farm, I get called in as the official farm tyer of knots. Interestingly, I’m also the official farm/business/family un-tyer of knots – those tied in rope but also various accounting snarls and children’s spats. But I digress.
Now, tying an honest-to-goodness real knot sometimes takes a little longer than whipping out a Compound Granny. But with a 2,000 pound bull on the other side of the gate or eager pigs on the other side of the garden fence, everyone sleeps easier.
Knots to tie ropes together. Knots to make loops in ends of ropes, or middle of ropes. Loops for clipping to halters, to hold up kicking hooves for inspection. Knots that hold without question and miracle of miracles, can also be untied.
So I tie a Double-back Figure Eight, a Butterfly or a Bowline.
And I laugh thinking of these elegant knots that I learned on a clean, beautifully woven, carefully tended climbing rope, in the clear, pristine air of a glacier high above the tree line…now tied into whatever dusty, frayed piece of twine we could reach with one hand, while holding the situation together with the other, and which we will then leave for the calves to chew on so it can fray out even more.

And I’m grateful.
Especially since Dad made us learn to tie the Bowline one-handed, just in case we ever fell down a crevasse on a glacier and needed to tie a rescue rope around ourselves while trapped.
I hoped never to need that rescue skill! But turns out it’s awful handy to be able to tie a knot with one hand while holding up a heavy gate (or a toddler) with the other.
Today I started out to tell a grateful father’s day tale of skills I learned from my dad, neither of us imagining the unorthodox situations in which I would later find them useful.
But along the memory trail those knots tumbled around with a bit of humor, mild peril, pristine mountains, green pastures, dusty hands, lifelong skills and contrary cows - all bound up with a bit of baling twine.
In truth it makes a nice summation of a life for which I am truly grateful.
Now I’m off to untie a few knots around the farm - that’s just tying in reverse ;)
Click here now to get good food.


![🎥 Meet the chickens behind your favorite eggs. [video]](https://storage.googleapis.com/grazecart-images-prod/onestrawranch/images/1778018019_69fa66e316f66.jpg)
